
Last updated November 15, 2026
 Wrought iron
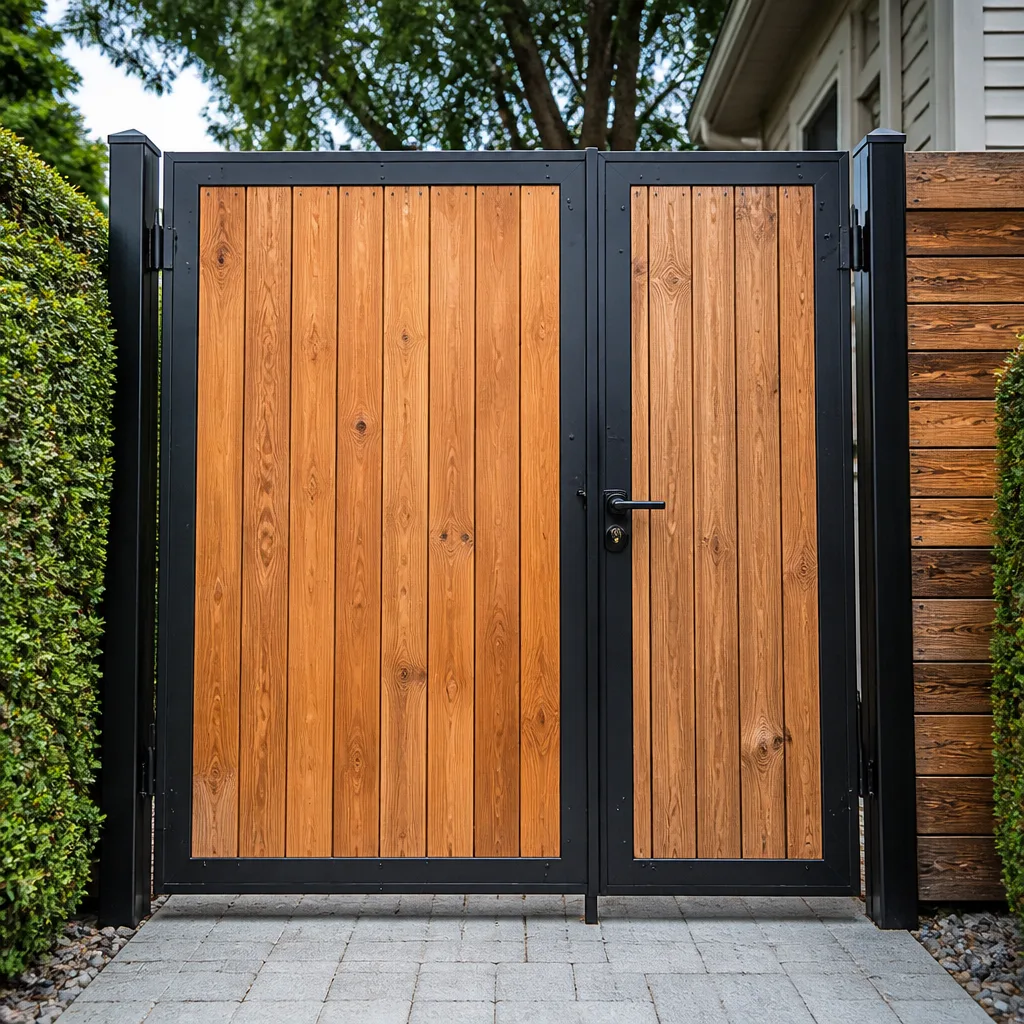 Wood & steel frame
 Farm & ranch
 Sliding driveway gates
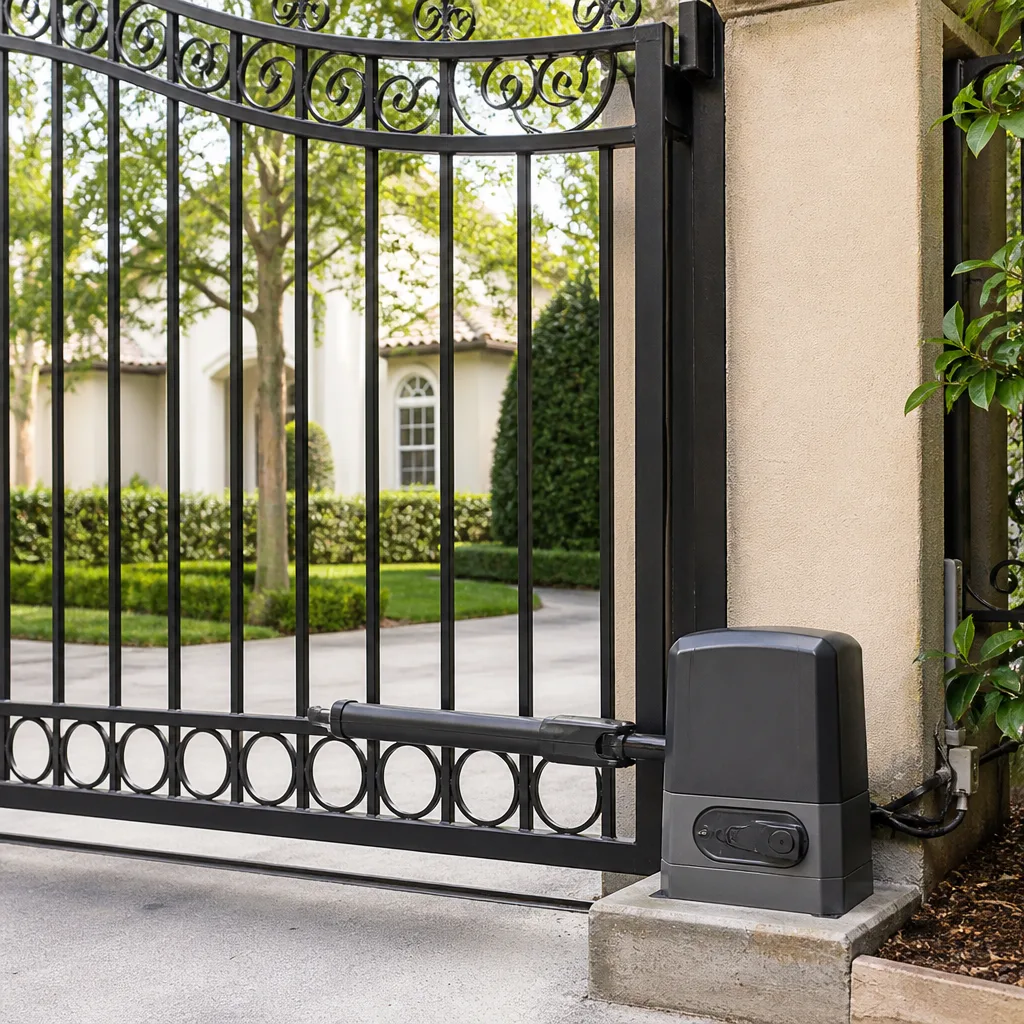 LiftMaster operators
Free on-site gate assessment - hinges, posts, and your LiftMaster or Nice gate operator checked before anything is quoted
The assessment is free and the quote is the invoice.
Get your free estimateGate Repair Maintenance Checklist for Miramar Homeowners
Most gate maintenance checklists were written for places where rust takes years to set in. In Miramar, the same damage can happen in one wet season. Humidity runs high for months, the sun bleaches and cracks anything rubber, and the summer storms that roll across South Florida test every hinge, sensor and battery on your property. A checklist borrowed from a northern climate will tell you to inspect your gate once a year. That’s too slow here. What follows is a month-by-month, component-by-component guide built around how gates actually fail in Miramar – what to look at, how often, and what to leave to a trained technician.
Quick Answer
A Miramar homeowner should inspect gate hardware monthly during the wet season (roughly May through October) and every other month the rest of the year, testing the battery backup and safety sensors every 30 days. Lubricate hinges, rollers and the operator chain every 60 to 90 days, and book a professional service visit once a year – or sooner if the gate slows, stalls, reverses or drags. The local humidity and UV exposure mean rubber, wiring and battery components wear faster here than most checklists assume.
Styles & brands we work with
- Wrought iron
- Wood & steel frame
- Farm & ranch
- Sliding driveway gates
- LiftMaster operators
Table of Contents
- Why Miramar Gates Fail on a Different Timeline
- Component-Specific Inspection Intervals
- Lubrication Points Most Homeowners Miss on Sliding vs. Swing Gates
- Testing Your Battery Backup Before Hurricane Season
- Visual Corrosion Indicators by Gate Material
- What to Document vs. What to Leave Alone
- Your Monthly Miramar Gate Checklist
- The Annual Professional Service Visit
Why Miramar Gates Fail on a Different Timeline
Gate hardware fails at a predictable pace in Miramar because the environment pushes every component harder than it would be pushed almost anywhere else in the country. Humidity stays elevated for most of the year, which means condensation forms on metal surfaces and inside control enclosures on a near-daily basis. The same moisture that fogs a windshield in the early morning is sitting on your gate’s hinges and terminals. Add intense UV exposure and the rubber seals, gaskets and weather-stripping on the operator age far faster than the manufacturer’s generic timetable suggests.
The other thing that shapes the local failure schedule is storm season. Heavy rain bands barrage enclosures, driveways and posts. A gate that runs smoothly in a dry month can start stalling the week a low-pressure system parks overhead, because the moisture has reached a control board or a limit switch. Homeowners in Miramar often notice a “new” problem right after a storm that was quietly developing for weeks beforehand.
Here’s the practical takeaway: a quarterly inspection works in a mild climate. In Miramar, you get ahead of failures by checking the components that moisture and sun attack first – not by waiting for the gate to announce a problem. That’s the schedule this guide builds for you.
A few quick rules to keep in mind:
- Anything rubber (seals, gaskets, bumpers) ages on a UV clock, not a usage clock.
- Anything electrical (boards, terminals, batteries) is on a moisture clock.
- Anything moving (hinges, rollers, arms, chains) is on a lubrication and load clock.
- The gate itself (panels, posts, frames) also ages on a humidity clock, but at a slower pace than hardware.
Track all four and you’ll catch problems long before they strand a car in the driveway.
Component-Specific Inspection Intervals
Generic checklists lump everything into “annual maintenance.” That’s not useful when a safety sensor needs checking far more often than a structural post. Below is how we think about intervals in a Miramar climate, tuned to the components that actually fail here. Use it as your baseline, then adjust for how heavily your gate is used – a gate that cycles 30 times a day in a busy household needs the shorter end of every range.
Monthly Checks (or Every 30 Days in the Wet Season)
- Safety sensors and photo-eyes: wipe lenses, test the reverse function by walking through the beam.
- Battery backup: confirm charge indicator reads healthy and does a short test cycle.
- Obstruction test: place a solid object in the gate’s path and confirm it reverses or stops.
- Visual drive-by: walk the gate line looking for sag, drag, loose hardware or debris.
Every 60 to 90 Days
- Hinge and roller lubrication: see the lubrication section below for specifics.
- Operator drive chain or arm: check tension, wear and lubrication.
- Track and guide rails (sliding gates): clear debris, inspect for wear grooves.
- Mounting bolts and brackets: check for loosening caused by vibration.
Twice a Year
- Control enclosure: visual inspection for moisture, insect nests or corrosion at terminals.
- Wiring and conduit: look for cracked insulation, loose conduit fittings or pest damage.
Annually
- Full professional service: torque check, board diagnostics, sensor alignment, structural review.
- Battery replacement assessment: batteries age on the local heat cycle and often need replacing before they fail a load test.
Lubrication Points Most Homeowners Miss on Sliding vs. Swing Gates
A gate that squeals is easy to fix. The lubrication points that cause the most expensive repairs are the ones nobody hears. Sliding and swing gates have different weak spots, and most homeowners treat them the same way – grease whatever’s visible and call it done. In Miramar, where airborne moisture and fine sand from our dry season both find their way into moving parts, the missed points are where the real wear happens.
For a sliding gate, these are the points that get skipped:
- The underside of the track, where grit and moisture collect and accelerate roller wear.
- The guide rollers inside the track, which are often hidden behind covers and never greased.
- The pinion gear and rack on rack-and-pinion operators – this is where metal-on-metal wear quietly takes over.
- The idler wheel bearings at the far end of the track, which most people don’t realize exist.
For a swing gate, the frequently missed spots are different:
- The upper hinge bearing or bushing, which takes load on a swing gate and gets overlooked because it’s up high.
- The operator arm pivot pins on articulated-arm operators (common on FAAC and BFT systems), which need a lighter grease than the gate hinges themselves.
- The stop posts and bumpers, which absorb contact and should not be lubricated – but should be checked for looseness, play or crushing.
One rule of thumb: use a grease rated for humid conditions on load-bearing pivots, and a lighter lubricant on operator arms. Never lubricate the friction surfaces of a safety edge or the contact pads on sensors – cleaning those is the goal, not greasing. If you’re unsure which of the two gate types your system uses, or what kind of operator it has, our gate repair technicians diagnose that on the first visit. Knowing the exact model tells you which lubrication points actually matter.
Testing Your Battery Backup Before Hurricane Season
Here is the mistake we see most often: homeowners think about their gate battery backup during a storm, when they need it. By then it’s too late to test it, order a replacement, or find out it needs attention. The right time to check is in the calm weeks before hurricane season, so you have time to act on whatever you find. A gate that can’t open when the power is out is a gate that can’t get a car out of the driveway – and that’s a problem you don’t want to solve in the middle of a storm.
Run this sequence in the dry season, roughly April to May:
- Locate the battery. Check your operator’s manual – on many LiftMaster, Linear and Viking systems it’s in a control box or a separate enclosure near the operator. Write down the model number.
- Look at the status indicator. Most operators have a battery LED that shows charged, charging or fault. If it shows fault, don’t skip it.
- Run a simulated outage test. Shut off power at the breaker that feeds the operator, then cycle the gate open and closed once. It should move smoothly and at normal speed. Restore power afterward.
- Repeat twice. A battery that handles one cycle may still be on its last legs. Two full cycles is a better indicator of real reserve.
- Listen and watch. Sluggish movement, a stuttering cycle or an early stall all mean the battery isn’t holding a proper charge.
Anything short of a smooth, full-speed double cycle means the battery needs a professional look – not another test. Heat is brutal on gate batteries here, and a battery that tested fine last year can be well below spec this year. We test, source and install replacements across all the major operators – from residential Ghost Controls and Mighty Mule units to commercial-grade FAAC and BFT systems. If you’d rather have a trained eye confirm the battery’s real condition, that’s exactly the kind of visit our electric gate repair service handles.
Visual Corrosion Indicators by Gate Material
Corrosion looks different depending on what your gate is made of, and most checklists describe it in generic terms. Aluminum, wrought iron and galvanized steel each fail in distinct ways in a humid climate. Knowing what to look for on your own gate saves you from misreading a problem as normal wear.
Aluminum Gates
Aluminum doesn’t rust, so homeowners often assume it’s maintenance-free. It isn’t. Look for:
- Chalky white or gray deposits on the surface – that’s aluminum oxide forming, a sign the protective coating has broken down.
- Pitting – small rough spots or shallow craters, usually starting near hinges or weld points.
- Dark streaks running down panels from a fitting or screw, which often traces back to a dissimilar-metal contact point.
Wrought Iron Gates
Wrought iron rusts, and it rusts visibly. What matters is where you find it:
- Inside corners and welds rust first – places where moisture sits longer than on flat surfaces.
- Under hinges and brackets – a rust bloom peeking out from beneath a fitting signals a hidden corrosion pocket.
- Bottom rails – the parts closest to ground splash and lawn irrigation are usually the first to show bubbling paint.
Galvanized Steel Gates
Galvanized coating sacrifices itself to protect the steel underneath, but that coating has a finite lifespan – and it wears faster in a humid climate.
- Dull gray patches that turn matte or fade are early coating wear.
- White rust (a powdery white deposit) means moisture is sitting on the coating without drying out.
- Reddish-brown spotting means the coating has given way and the base steel has started to corrode.
Photograph anything that looks suspicious before it progresses. A dated photo log tells a technician what stage the corrosion is at and whether it needs attention this season or next. If the corrosion is concentrated around hardware mounting points, it’s worth a service visit rather than a paint touch-up – the problem is often structural, not cosmetic.
What to Document vs. What to Leave Alone
The best-maintained gates in Miramar are the ones where the homeowner knows exactly where their job stops and a technician’s begins. There’s a lot you can and should do yourself. There’s a smaller list of things that should never be handled without training – and the danger is specific. Gate operators carry live voltage, gate panels are heavy enough to crush, and sliding gates that jump the track can fall.
Here’s what to document on your checklist:
- The gate’s behavior. Any slowing, stalling, reversing, unusual noise or timing change.
- Sensor condition. A photo of the lenses and their alignment after each cleaning.
- Battery status. The status light reading and the results of your simulated outage test.
- Corrosion progression. Dated photos from the same angles each inspection.
- Hardware condition. Loose bolts, worn hinges, drag marks, popped rivets, cracked gaskets.
- Operator model and serial info. Taped inside the control box or photographed – it saves diagnosis time.
Here’s what to leave to a professional:
- Anything inside the control enclosure beyond the visual check. Live wiring is not a homeowner task.
- Replacing batteries, boards or sensors that require disconnecting wiring or opening sealed enclosures.
- Adjusting operator force, limit switches or speed settings – a wrong setting can damage the system or defeat safety features.
- Straightening a bent gate, repairing a broken hinge weld or re-securing a gate to its post. These are load-bearing repairs.
- Anything on a track that has come loose from its anchors. A sliding gate panel is heavy and dangerous to move alone.
Your documented list is what our technicians work from. Hand us the photos and the operator model and most diagnostic work gets faster. Which brings us to the professional visit itself.
Your Monthly Miramar Gate Checklist
Print this and stick it somewhere near the gate. Ten minutes once a month during the wet season does more good than an hour of panic after a failure. Work through it in order.
- Walk the gate line. Look for sag, drag, debris, loose bolts, fresh rust or cracks.
- Cycle the gate. Open and close it once, watching for hesitation, noise or a change in speed.
- Test the safety sensors. Walk into the beam and confirm the gate reacts as designed – reversing or stopping.
- Test the obstruction response. Place a solid object in the path and confirm the gate doesn’t close on it.
- Clean the sensor lenses. A soft cloth; no lubricant, no cleaner sprayed directly on the lens.
- Check the battery status indicator. Note the reading on your log.
- Inspect the track or hinges. Clear grit from sliding tracks; look for wear on swing-gate hinge bushings.
- Photograph anything new. The photos become your running record and your technician’s reference.
- Note the operator model. Keep it written down where you can find it – it speeds up any service call.
That’s the monthly routine. Twice a year, add the control enclosure visual check and the wiring inspection. Once a year, book the professional service visit – and remember that humidity and storm season make late spring the ideal slot, not late fall.
The Annual Professional Service Visit
The annual service visit is where a trained technician catches the things the checklist can’t – a control board with early moisture damage, a sensor that’s slowly drifting out of alignment, an operator force setting that’s masking a developing mechanical problem. These aren’t things a homeowner can accurately assess with a visual inspection. They’re exactly what Gate Repair Miramar looks for when we’re called out to a Miramar property.
Here’s what a proper service visit covers:
- Full cycle test under load, watching for timing changes and abnormal draws.
- Board and wiring diagnostics inside the control enclosure, including moisture intrusion and terminal corrosion.
- Sensor alignment and function test with actual measurement, not just a walk-through.
- Torque and mounting check across every hinge, bracket, post anchor and bracket.
- Battery load assessment with a proper test – not just a status light check.
- Lubrication pass across all the points your monthly checklist can’t safely reach.
- Full report on what’s healthy, what’s aging and what needs attention this year.
We specialize exclusively in gates – repair, electric gate repair and new installation – so every technician, tool and stocked part on the visit is purpose-built for gate work. That matters most when a problem crosses the line between the gate, the operator and the controls – the one place a general contractor almost always has to call someone else. Whether your operator is a FAAC, BFT, Linear or Viking, we carry the knowledge and parts to diagnose the actual problem rather than defaulting to a single brand’s solution. That’s the advantage of a single-trade specialist.
Common Mistakes to Avoid
- Following a north-climate checklist. Greasing once a year and calling it done works where winters are long and summers are mild. In Miramar, the wet season alone can produce a year’s worth of wear. Shorten every interval in this guide rather than stretching it.
- Skipping the battery test until the storm is already on the doorstep. By then, replacement parts take time to source and the job is being done under pressure. Test in the dry season and give yourself weeks to react.
- Greasing everything that squeaks. Some components – safety edges, sensor lenses, bumpers – should be cleaned, not lubricated. Greasing them attracts grit and defeats the purpose.
- Spraying lubricant into track guides. In humid Miramar conditions, an open track collects grit and holds moisture. Clean it, don’t coat it in grease, unless the manufacturer specifically calls for it.
- Turning up the operator force to fix a slow gate. A gate that’s slowing down is usually telling you about a lubrication problem, a drag issue or a worn part. Raising the force hides the symptom and keeps the wear going.
- Ignoring a slight change in sensor behavior. Sensors drift out of alignment gradually. The gate that reverses a second “late” might feel fine for a while, right up until it doesn’t.
- Treating a corrosion spot as a cosmetic issue. Corrosion at a mounting point is often structural. Painting over it doesn’t stop the process – it just hides it.
See the difference
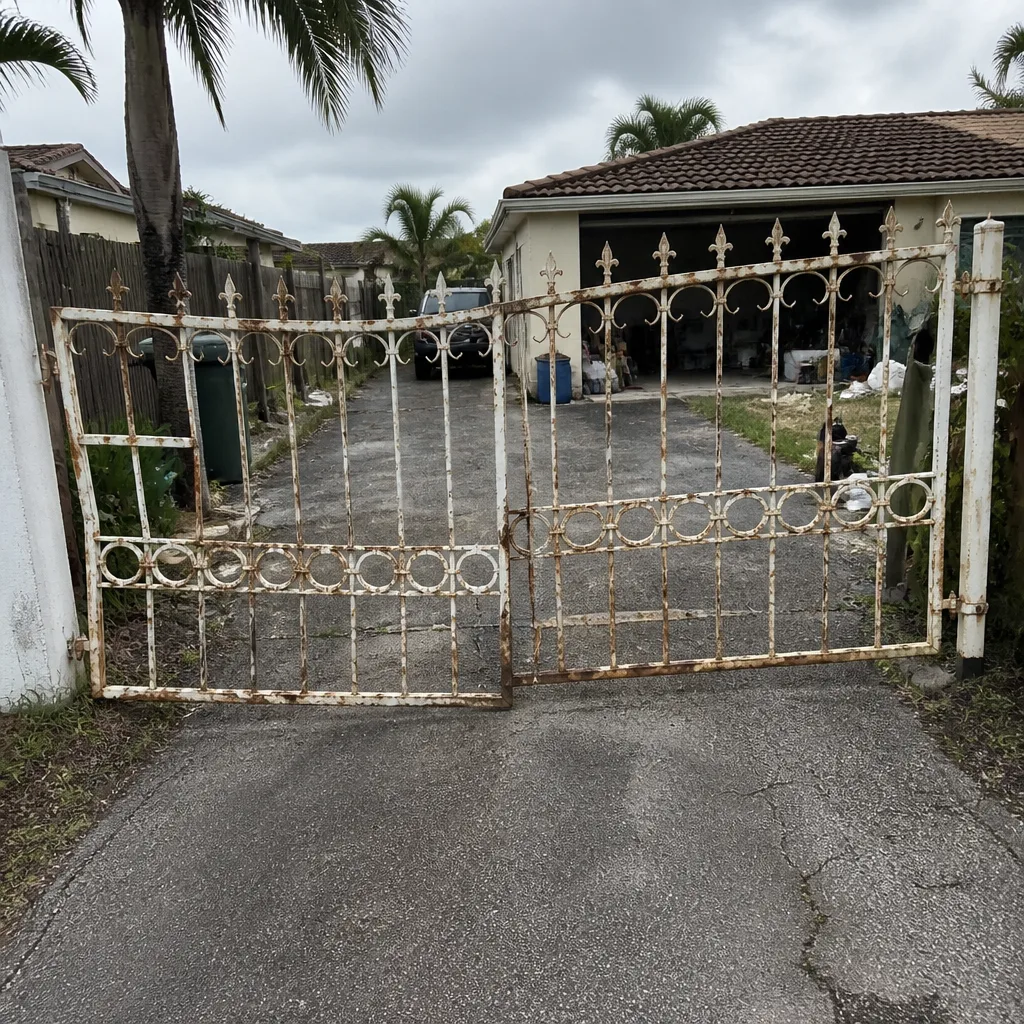 Before
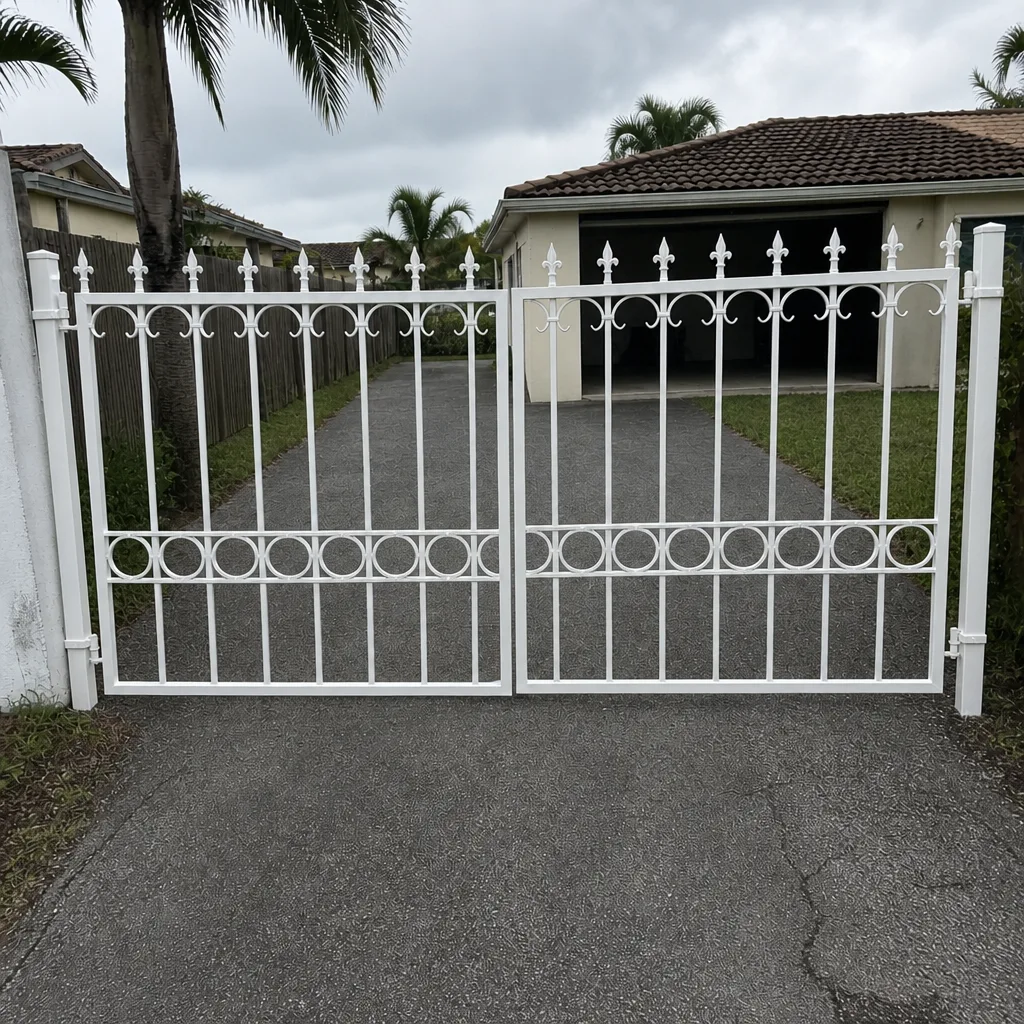 After
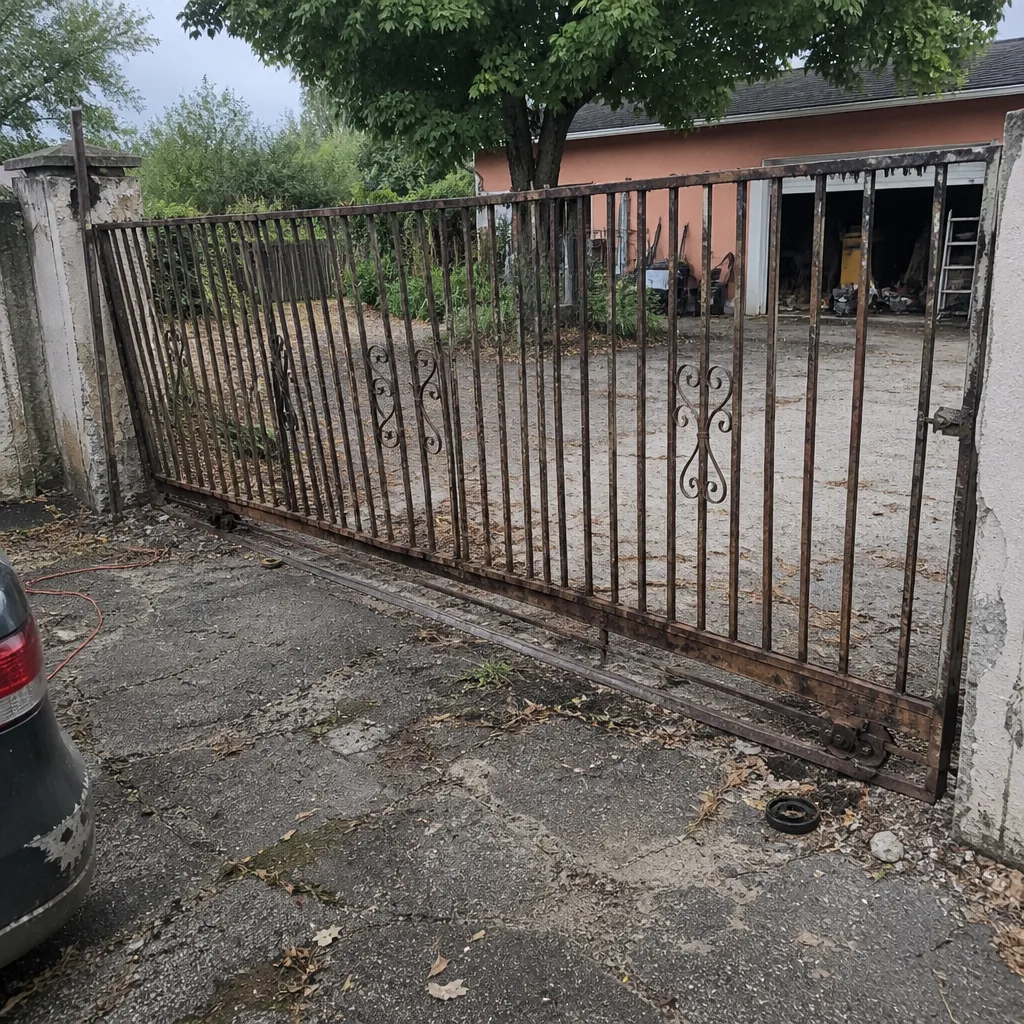 Before
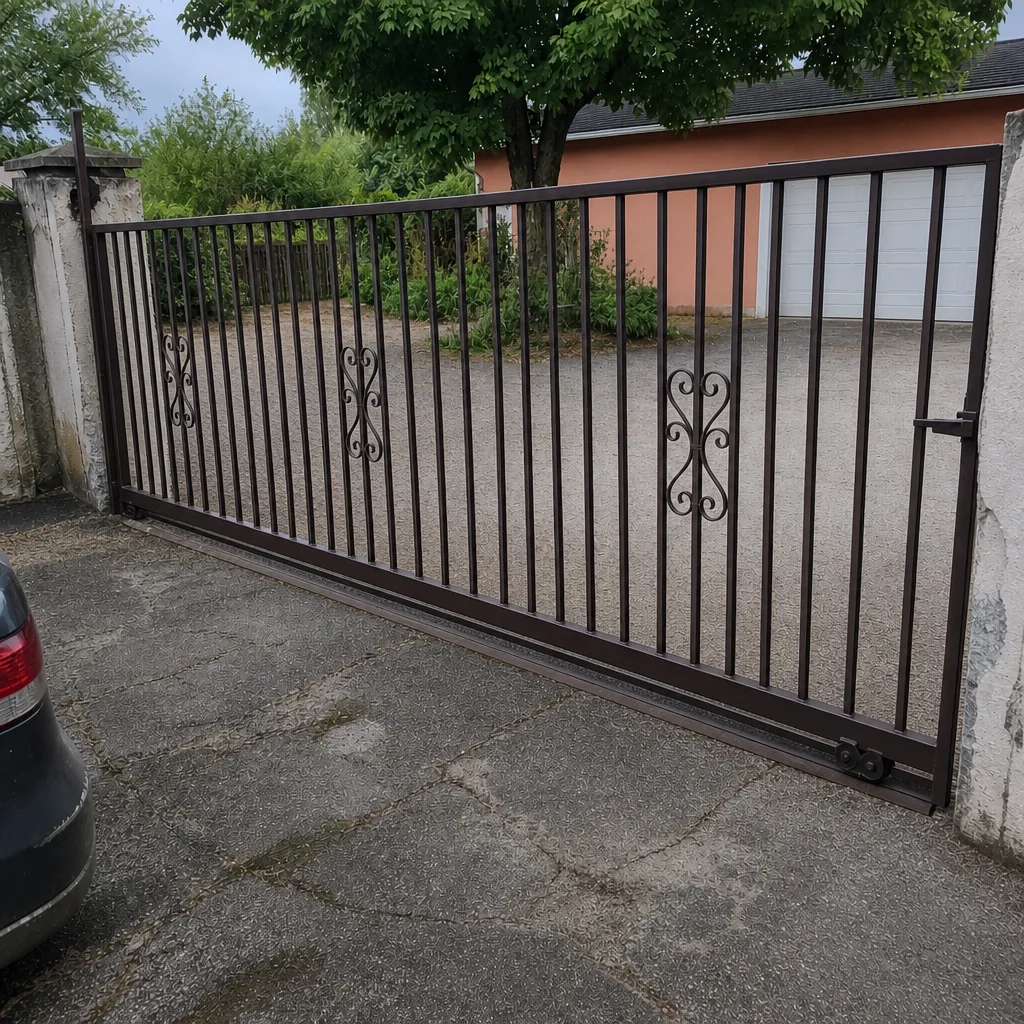 After
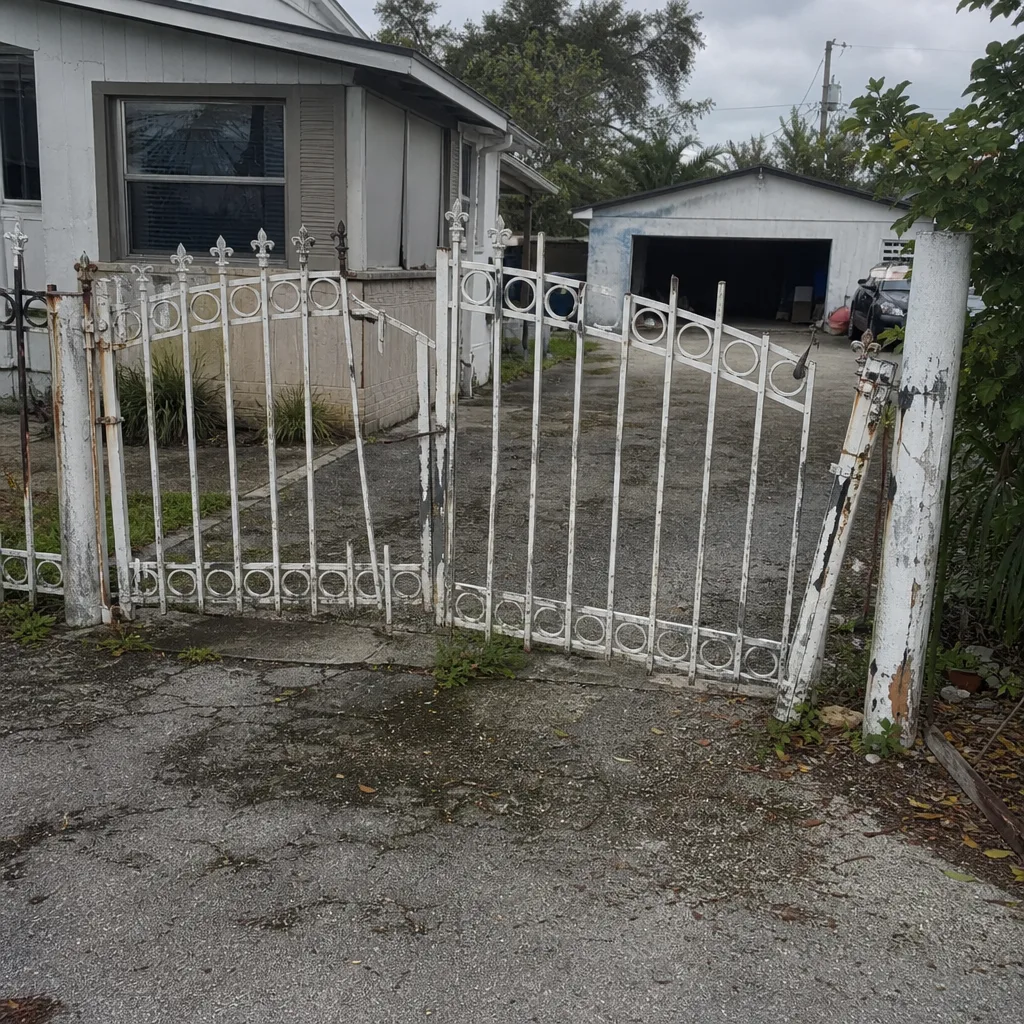 Before
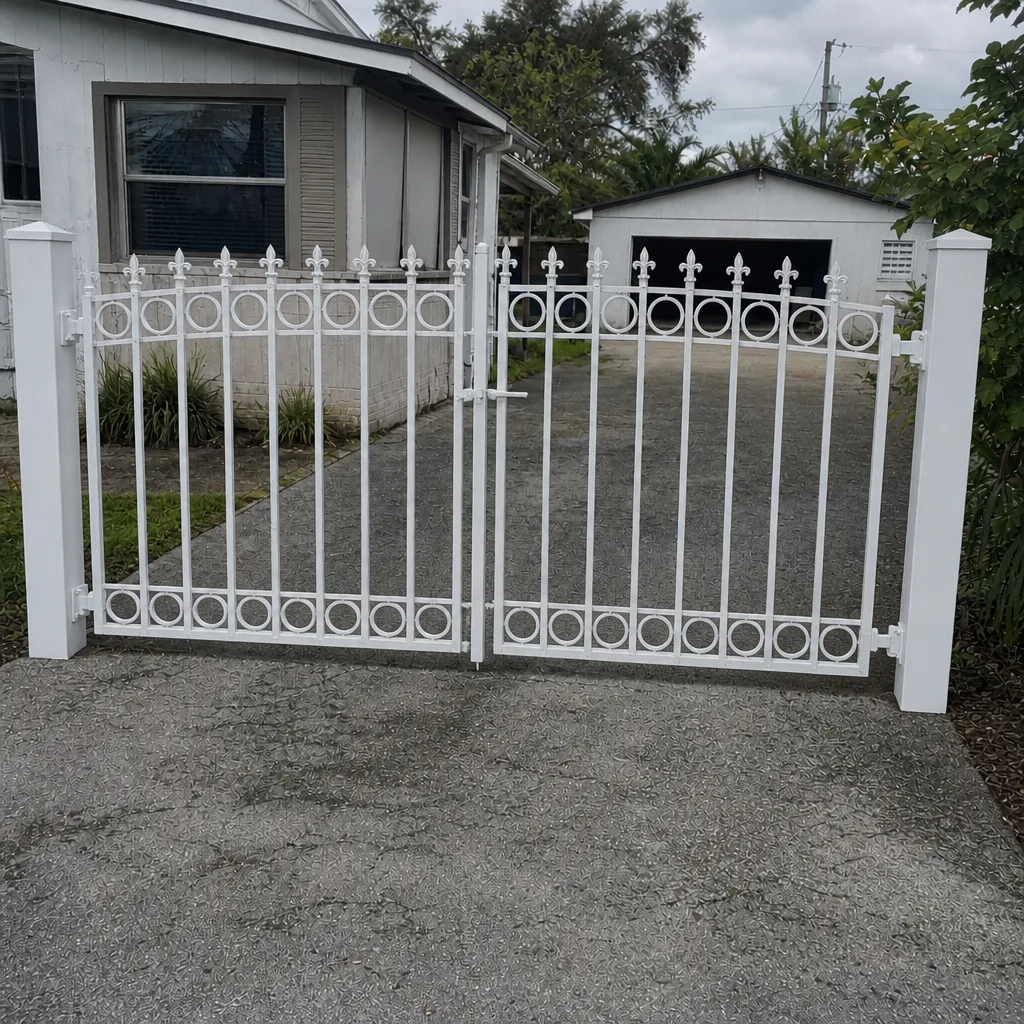 After
When to Call a Professional
Some problems genuinely resolve with a checklist and a cleaning. Others should never be handled by a homeowner, because the risk isn’t worth the saved hour. Book a service visit when any of these show up:
- The gate stalls, reverses, or hesitates more than once in a cycle.
- Your battery backup fails its simulated outage test, or the status light shows a fault.
- Safety sensors need alignment, won’t trigger the reversal function, or the gate closes on an obstruction.
- The gate is dragging, sagging, hitting the ground, or has come off its track.
- You see corrosion at a hinge or mounting point, a cracked weld, or a bent panel.
- There’s moisture, insect activity or burnt smell inside the control enclosure.
- The operator runs briefly and shuts down – a fault code or a board issue.
The earlier any of these gets looked at, the smaller the repair usually is. Gate Repair Miramar offers free estimates in Miramar – call (855) 644-1097. We answer 24/7. Fast dispatch from 7am to 7pm, Sunday through Friday.
Frequently Asked Questions
Monthly during the wet season and every other month the rest of the year, with a battery and sensor test every 30 days. The humidity and UV exposure in Miramar wear components faster than in most of the country, so the schedule here should be tighter than the manufacturer’s generic recommendation. Call (855) 644-1097 for an exact quote on a professional service visit – estimates are free.
Stop using the gate and arrange a service call, because a dragging or jumping sliding gate can come off the track and the panel is heavy enough to be dangerous. Document what you see – where it drags, when it started, whether the track is full of grit – and leave the repair itself to a technician. Call (855) 644-1097 and we’ll diagnose it properly – estimates are free.
In most cases, yes – same-day service is available for repair calls, with fast dispatch from 7am to 7pm, Sunday through Friday. We answer 24/7, and a call outside dispatch hours is booked into the next opening, Sunday through Friday, 7am to 7pm. Call (855) 644-1097 for an exact quote.
Shut off power at the breaker that feeds the operator and cycle the gate open and closed twice – it should move smoothly and at normal speed on battery alone. Restore power afterward. If it’s sluggish, stutters or stalls early, the battery needs professional attention. For a professional test and a written quote on a replacement, call (855) 644-1097 – estimates are free.
Sensor and battery problems that developed quietly over a wet season and only got noticed when the gate stopped working properly. In our experience, gates in our climate tend to fail on a moisture-and-heat schedule rather than an age schedule. Call (855) 644-1097 for an exact quote on a diagnosis – estimates are free.
Yes – our technicians are experienced across residential operators such as Ghost Controls and Mighty Mule as well as commercial-grade systems like FAAC, BFT and DoorKing. That’s one reason we recommend a specialist rather than a generalist for this work. Call (855) 644-1097 for a free estimate.
The Bottom Line
If you take one thing from this guide, it’s this: a Miramar gate needs a schedule built around the local climate, not the calendar quarters on a generic checklist. Test the battery and sensors monthly through the wet season. Lubricate moving parts on a 60-to-90-day rhythm. Photograph corrosion as it develops. Leave the wiring, the operator adjustments and anything load-bearing to a technician. That formula catches the majority of gate failures before they strand your car in the driveway – and when something does go wrong, a specialist who works on gates all day, across all the major brands, will resolve it faster than someone guessing. If you’d rather have a trained eye walk your gate through the annual service visit or fix something you’ve already spotted, call (855) 644-1097. We answer 24/7. Fast dispatch from 7am to 7pm, Sunday through Friday.
Written by the team at Gate Repair Miramar.